Rich and the boys are out today (having great fun on a tree-top climbing thing!), so I am catching up with a uni course that I am doing as part of my job. A lot of it is focused on reflection, and it really got my thinking about LauretteCraftsUK, so these blog is mainly a rambling of my thoughts..
So why LauretteCraftsUK? From our about us, you already know that Rich worked hard on evenings/weekends in order to buy a laser cutter. His intention was initially to create table top gaming scenery, and ideally for this business to be big enough that he could give up his day job. However, he didn’t have chance because as soon as his laser arrived and I realised what it could do… I had lots of ideas! Don’t worry – he has managed to give up his day job and he will be getting back into gaming things soon, but LauretteCraftsUK has taken up all of his time so far, and this is why: I love to crochet and I passionately believe that crochet (and crafting in general) should be fun. I love to come up with items that are going to be useful in one way or another, be it in organising your yarn, photographing your makes, or planning or creating your next project. Richard’s why? He is passionate about creating the highest quality items to help you with your projects. He may not be au fait with crochet, or crafts in general, but he does have some transferable craft skills from his table top gaming hobbies! He also firmly believes that as a crafter or crocheter you should be able to get the accessories and items that you need and want. So that’s our why: to create the highest quality items to help you have the most fun with your crochet and crafting plans, designs, ideas, makes and gifts. We come up with new ideas daily and love to hear of any ideas you have too – Rich is working his way down our ever growing list! We hope that you love our items as much as we do, and thank you for taking the time to read my ramblings! Here’s some photos to make up for it:
We are in!! It was a bit of a tricky move, but we made it 😊
So Rich stripped the laser down, and between between us we got the very heavy and delicate laser downstairs. It was not easy, but we did it!
We managed to get it in the car, and this is where our neighbour saw us and very kindly offered to help us! So between us (with children in tow) we took it to the workshop, where he and Rich managed it up the stairs there – I was demoted to door holder(thankfully!). I think it’s fair to say we were all relieved to see it in situ working! Things are slowly being moved across – it’s so good to get organised properly.
Now, most excitingly for me, is we can reclaim the house. This means, that I can also claim the spare bedroom back as a craft room if I’m quick enough!! There’s a day bed in there, so after the room has had a lick of paint I’m going I’m going to get my Attic24 Dune blanket and accessories out, to cosy up with whilst I work on my makes. Our boys are also looking forward to helping us reclaim the living room back too!
The other thing to tell you about is that our working hours will change a bit too. Until now, Rich has processed and posted orders seven days a week. However, due to the laser being moved to the workshop, he will only be posting orders Monday-Friday. Rich will still keep an eye on our orders and messages on evenings/weekends, but whilst he may reply to some, he won’t process these until Monday morning. We hope you understand, and hopefully it won’t affect the service that you receive from us too much.
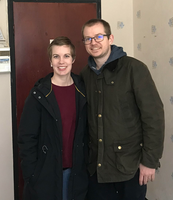
So not much of a blog to post today, but just wanted to keep you updated. I’ve a few ideas, so hopefully now Rich has made the move and we are a bit more settled, he will have a chance to make them. Here’s us in the new workshop!
Oh wow – isn’t it cold at the moment!! We’ve had a busy few weeks over here at LauretteCraftsUK, so I thought I would share some of our latest items as well as a some exciting news!
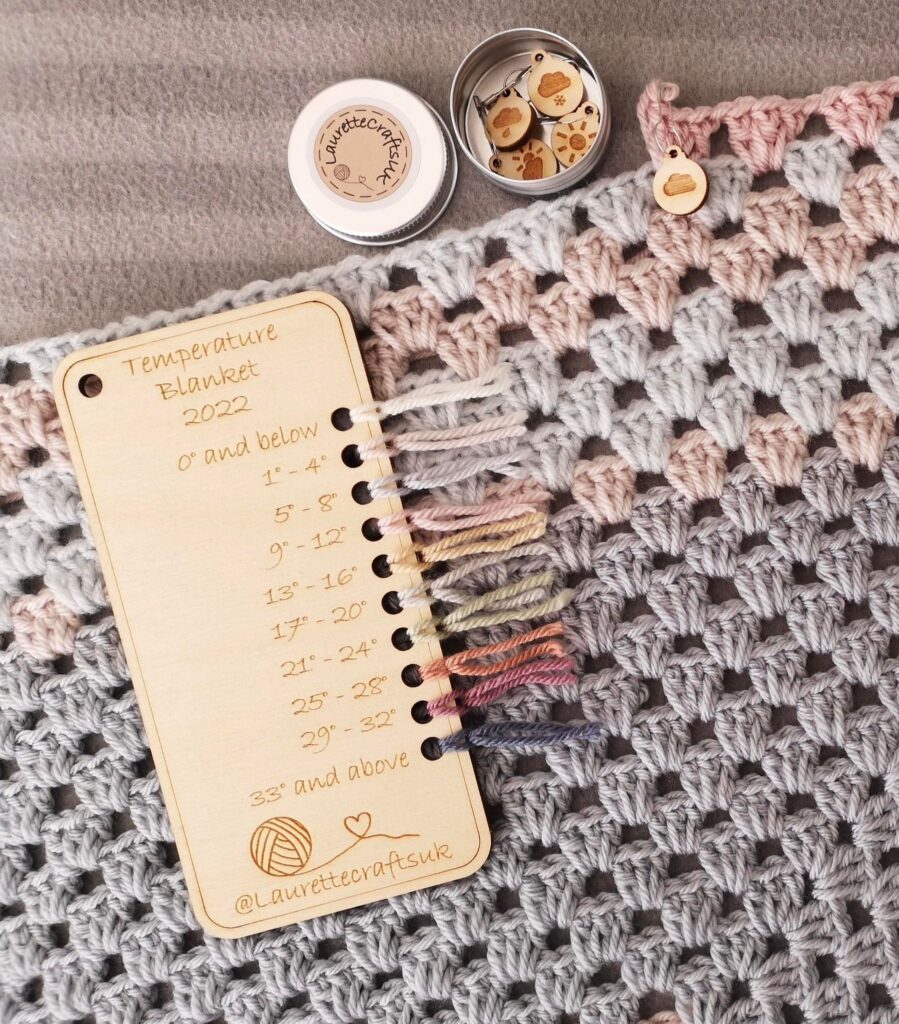
Over the past few weeks we launched our temperature shade cards which have been really popular. Here’s my temperature blanket that I have started! I’m planning on doing a granny square a month (and rounding each month up to 31 rounds) and then joining them together at the end to make one big blanket. We also have some big temperature blanket buttons that I love, as well as these super cute weather themed stitch markers.
As well as that we have now got these tiny tins that are perfect for fitting in a set of five of our stitch markers. We don’t sell them with our animal shaped stitch markers, as although they do fit it is a very tight squeeze!
We also launched our “end savers” which I love for keeping the end of your yarn in place, as well as prompting me to remember the colour/type etc of the yarn I’m using. I used the Frixion erasable pens with mine so that I can use the rubber or an iron to erase the ink and use them again – just don’t store them by anywhere hot if trying this method as the heat will erase the ink!
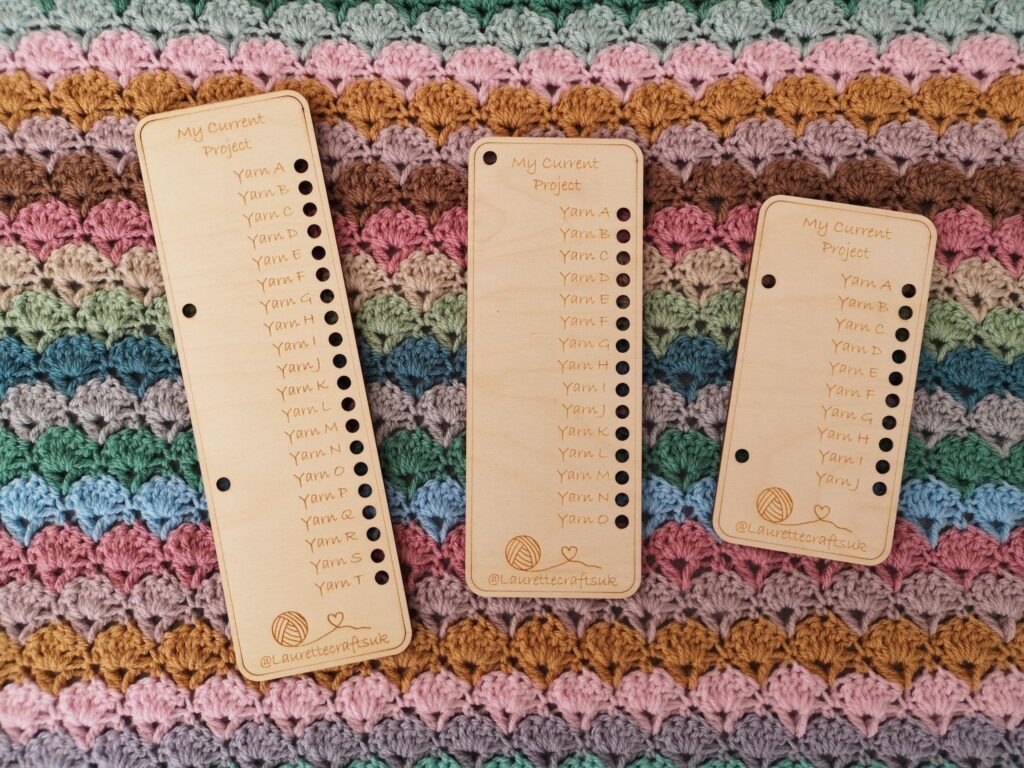
We also have these launched newly “My Current Project” cards, engraved with Yarn A etc in our usual range of options. These are ideal for use with any pattern really, as a lot of the patterns I use reference Yarn A etc in them, and also means that they are really easy to reuse as many times as you like!
And finally, our exciting (for us anyway!) news. Rich has been looking at workshops to move to, and hopefully will be moving soon! We cannot wait!! I’ll update you again when everything is confirmed with more details 😊
I mentioned before that my Mum taught me to crochet when I was a child. If she started me off doing a circle then I could make it grow, but that was where my skills ended! My Mum was a knitter, and I have shared before that we made a blanket together – she knitted squares and I crocheted them, and then she sewed them altogether and added a border.
I do have a better picture, but I can’t quite locate it and the lighting isn’t good enough to take another right now. I do love this photo also though – the plaque was bought by a friend I consider family, for my 30th birthday, which we knew would be the last one my Mum would be here for as she was very poorly. The love and thought behind this gift is what makes it so special, and it lifts me every time I see it.
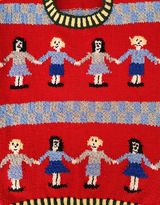
Although I come from a family of knitter, it remains a skill I have never mastered. I can just about knit a row, but my tension always ends up far too tight and I drop stiches. I don’t think I’ve ever managed more than a square (or a very small scarf for a teddy!) before giving up! I have this jumper my Grandma knitted for me when I was younger – how brilliant is this:
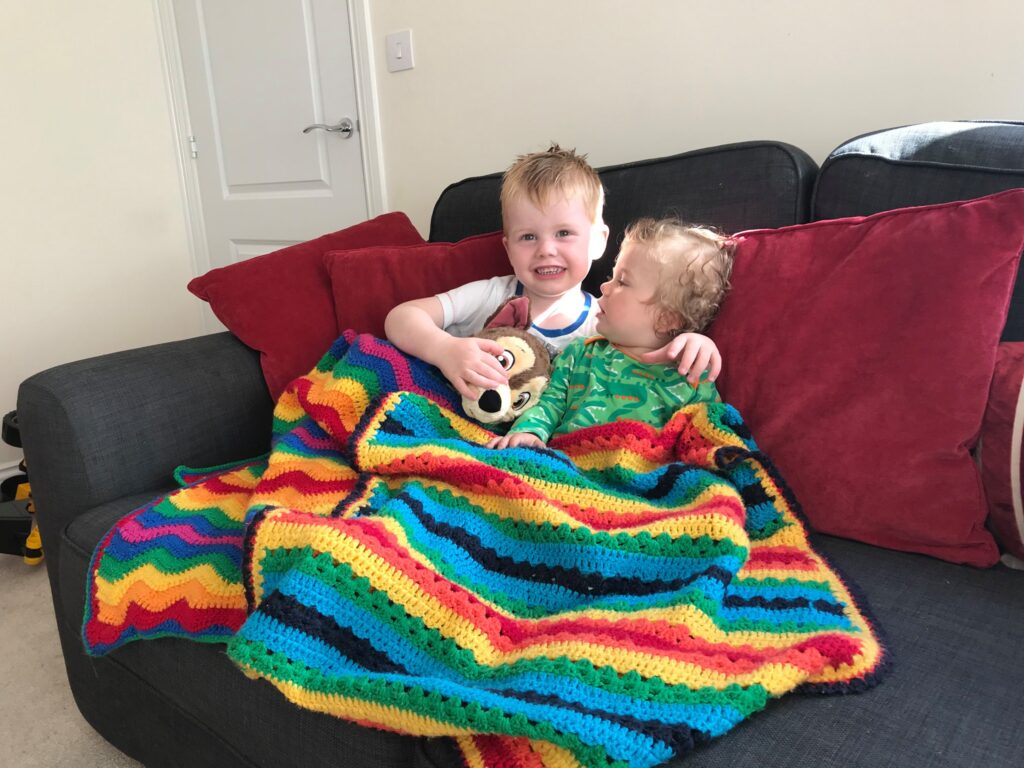
Now we’ve ascertained I don’t have these skills, but crocheting did come quite naturally to me. Whilst pregnant and feeling sorry for myself (I had dreadful nausea with my second), I decided to pick up crocheting again. Using a crochet hook my mum had and some of her spare yarn, I made a big circle blanket, and fell in love with crochet. I bought a book which taught me a range of crochet stitches and simple patterns and was great for getting started. I also decided to make a baby blanket, and so started looking for blanket patterns and stumbled across Lucy at Attic24. The free patterns were a bonus as I was still getting started, but they were so easy to follow with lots of pictures too that they were ideal. I’ve always loved being crafty, and so I enjoyed picking my own colour palettes. I decided on nice bright rainbow colours, and so I crocheted a cosy stripe rainbow blanket for my youngest. Naturally, the eldest wanted one, so I let him choose his own (remarkably similar!) colours, but used a slightly different Attic24 pattern, the ripple.
I love both of these patterns and the bright colours, and they have been much loved blankets. Sadly my eldest has always had a penchant for sucking teddies ears/the edges of blankets, and after a few years of love his blanket is a bit worse for wear! I am currently working on a new one for him, but more about that in another post!
So, a post I never thought I would be writing – a blanket “pattern”. I don’t feel quite able to call it anything as exciting as a pattern, it’s very straight forward but as I have had a few people ask about it now, I thought it easier to share it here, rather than in dribs and drabs over Instagram and Facebook. I’ve named this lap sized blanket “Lydia’s Blanket” as I’ve never had much imagination! But, this is my favourite, it is all mine – the colours and the pattern, and it’s something that I am really proud of.
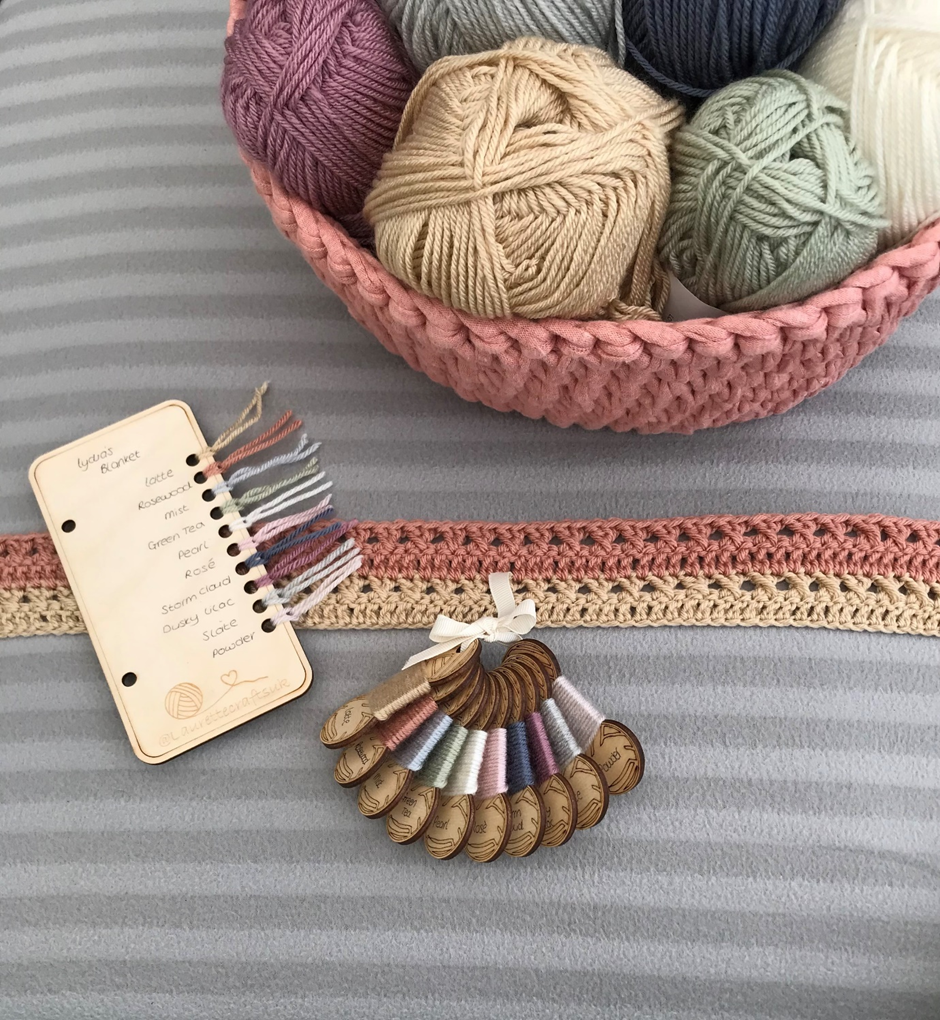
Lydia’s Blanket in progress, with personalised shade card, yarn tags and a basket of yarn
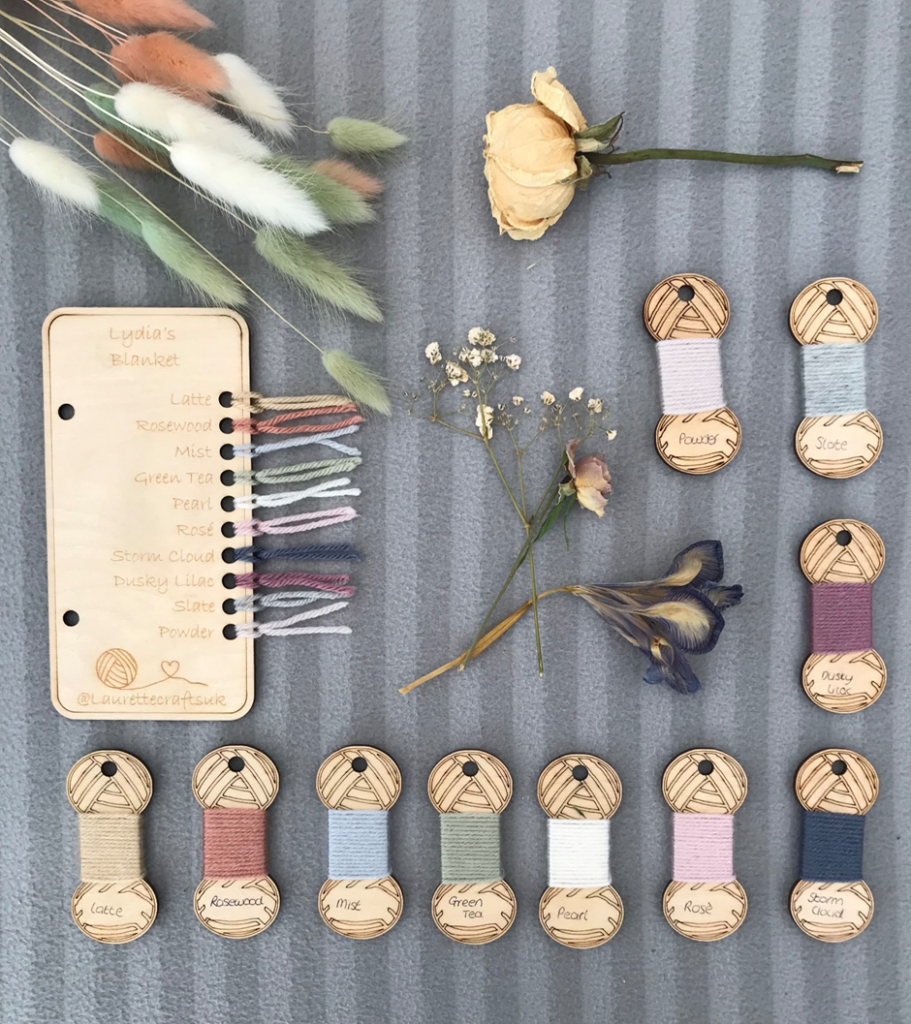
I chose the first few colours really quickly, I had chosen most to use in a previous blanket and easily added to them. I wanted ten colours in total though, and the last few took a while longer to choose! I used Deramores Studio Anti-Pilling DK Yarn. I love the range of colours and quality of the yarn – plus they have regular sales! You can see from my flat lay photo below where I took my inspiration though. I wanted soft pastel colours and these gorgeous bunny tails and dried flowers fitted perfectly with what I was envisaging.
A flat lay photo of dried flowers and bunny tails in the colours that inspired the blanket, along with the yarn tags and shade card with the colours use.
So onto how I made it, I’ll use UK crochet terms. It is super simple to do! I just started with a chain of 142 (I think, I didn’t think to note it down at the time so had to look back at my photos and double checked by counting my blanket!!). Any even number would work though so you can easily make it any size that you would like.
The starting chain of the blanket, with stitch markers and yarn tags.
Then to start with I did a treble stitch in the fourth chain from the hook, and a treble in every stitch along – this gave me a total of 140 treble stitches. Thank goodness for stitch markers is all I can say!
Tr (treble crochet): Yarn over, hook through stich, and yarn over again. Pull through the stitch (3 loops on hook), yarn over and pull through two loops on your hook (two loops left), yarn over and pull through the final two loops on the hook.
I then turned and chained two at the start of my next row (this counted as one treble), and then I did crossed trebles all the way along. For this – instead of putting your treble in the next stitch where you would usually put it, put it in the next one along. Then do you next treble in the space you just missed – so that they cross. At the end of the crossed treble rows, you will have one stitch left in which you will do a treble on its own. This means that the crossed treble rows will start with a chain (counts as a treble) and finishes with a single treble. These give some structure to the blanket and something to use to attach the border to! There are lots of better explanations with regards to crossed trebles than this as well as videos on the internet 😊 but here’s how your first few rows should look:
The first four rows of the blanket, along with handwritten shade card, yarn tags and basket of yarn.
Then I just alternated a row of trebles then a row of crossed trebles until it got to the right length for me! And that’s all there is to it!
For me, I chose ten colours initially, and then used my yarn tags to plan each set of ten so that each colour got used once in each set, but in a different order each time. For each colour, I did two rows (one of trebles, and one of crossed trebles). I did this five times and so ended up with one hundred rows (fifty stripes) which felt like the right size for this blanket for me- its about 100cms x 140 cms. I did make sure that the last row used the same colour yarn as the first row, as this made it easier to do the border.
For the border, I just did a row of double crochet (dc) all the way around in that same colour yarn I had used for the first and last rows. Down the long sides, I just did two dc around each end post, and in each corner I did dc – chain – dc.
dc (double crochet): hook through stitch, yarn over, pull through stitch, yarn over and pull through all (two) loops on hook.
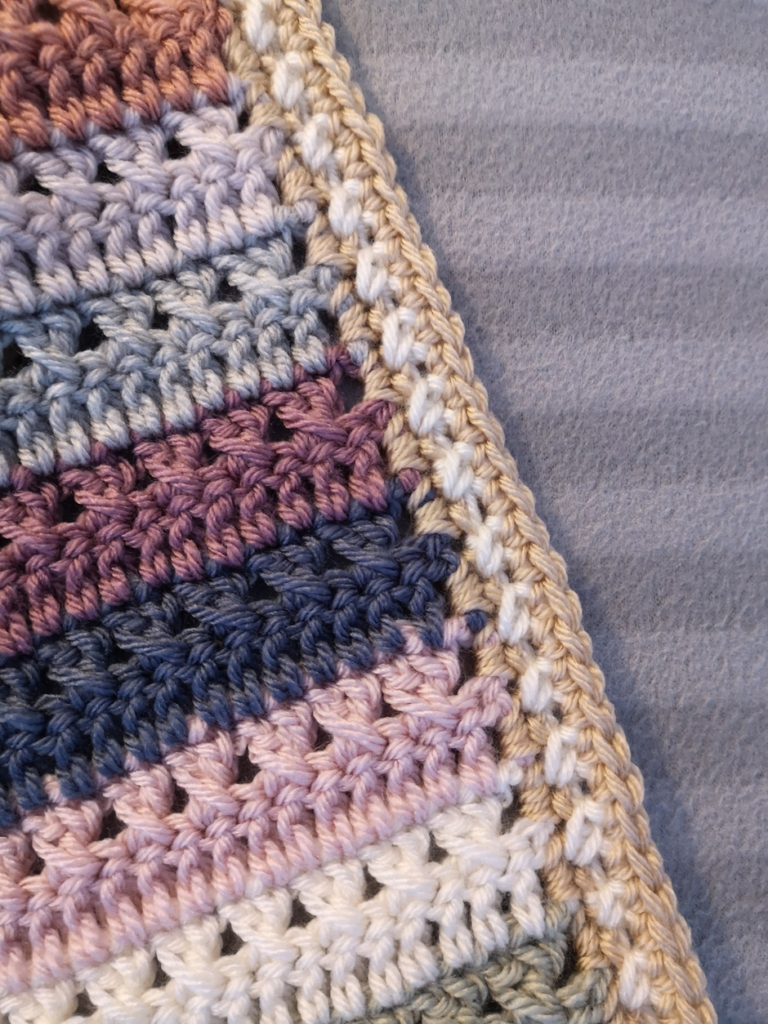
For the next row, I chose another neutral colour, and tried something a bit different – a crossed double. I wasn’t sure (and still aren’t really) if this was a thing, but gave it a go and actually really like how it turned out. I worked it exactly the same as a crossed treble but just using double crochet stitches, and I think it worked out well. For the final row, I went back to the same neutral starting and finishing colour and did a round of double crochet in every stitch. For both of these rounds, in the corners I did double crochet – chain – double crochet.
Close up picture of the border
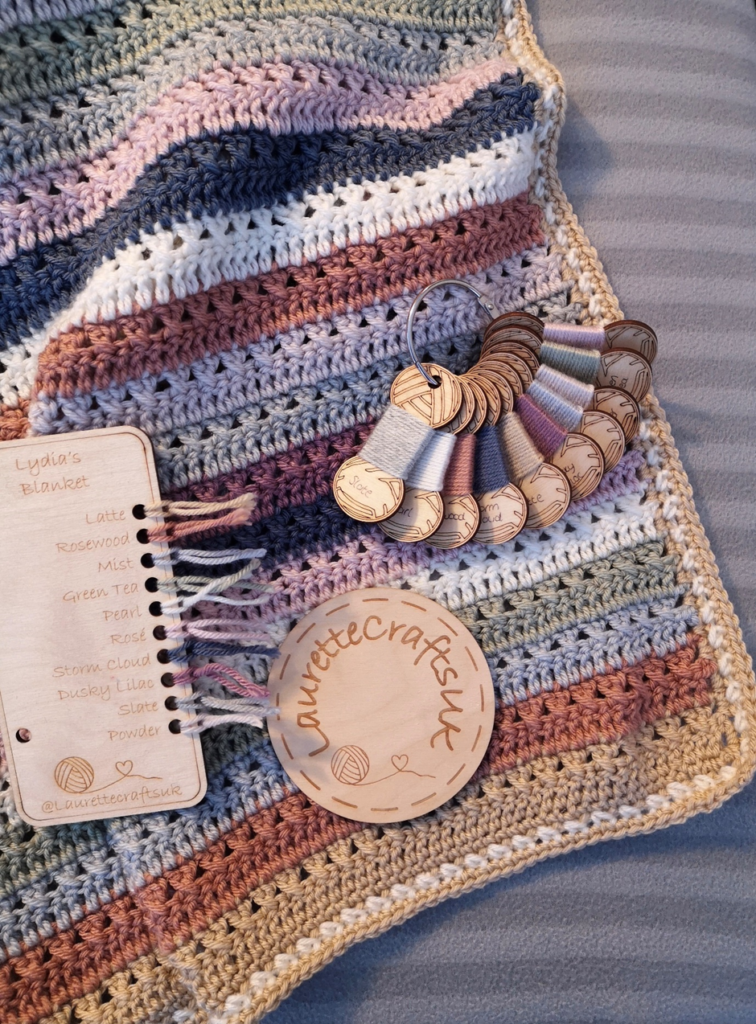
And here is the finished product!!
The finished blanket, along with shade card, yarn tags on a ring, and logo photo prop card.
As I said, I used Deramores Studio DK Yarn and it so snuggly and soft, and I love the range of colours that it comes in. It is also amazing value for money. Occasionally I have found I have struggled to get a certain colour in the 100g balls, but they also do 50g balls and I have tended to be able to find it there! I ordered one 100g ball (or equivalent) of each colour for this and had plenty left over at the end.
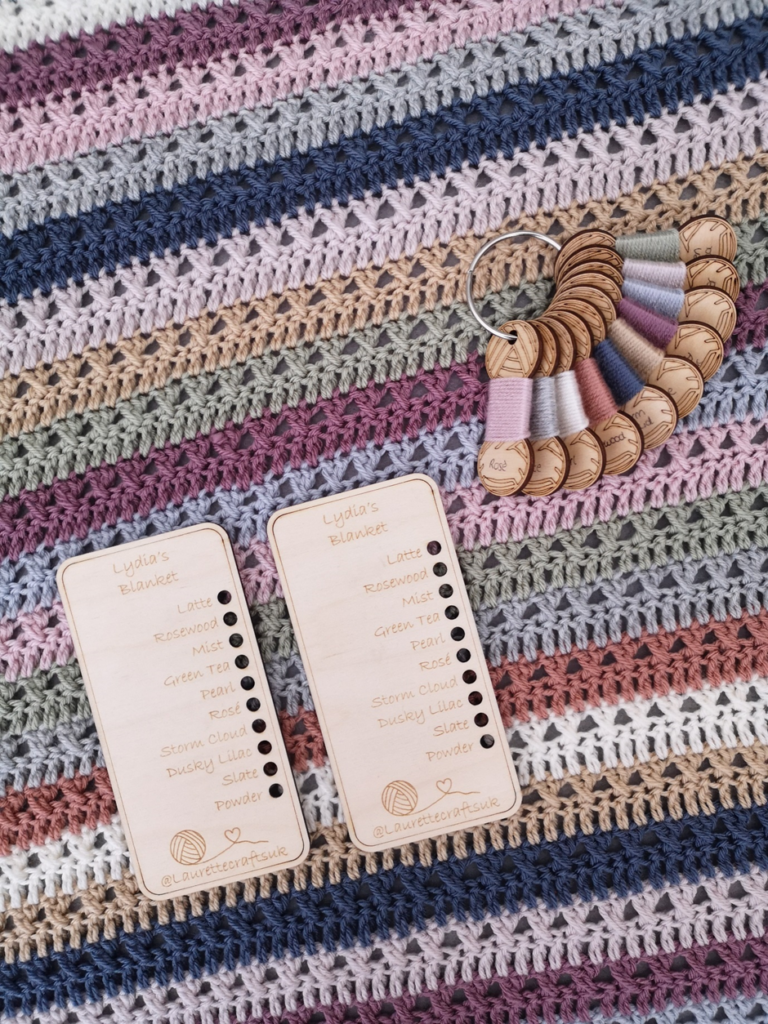
The summary of the pattern is below, along with the colours used. We do also offer pre-designed personalised shade cards for this blanket, available in our Etsy shop 😊
Personalised shade cards shown on the completed blanket.
Pattern (UK terms)
Chain any even number. My blanket used 142.
Row One: Starting in the fourth chain from the hook, work one treble in every stitch along; turn.
Row Two: Chain two (counts as one treble), then work crossed trebles all the way along. In the last stitch, work one treble. Turn
Row Three: Chain two (counts as one treble), then work one treble in each stitch along, turn.
Continue repeating rows two and three until your blanket is big enough. My blanket was 100 rows long in total, finishing on a crossed treble row.
Border:
Round one: Start in any corner. Chain two in the corner space. If working along the row, double in every stitch along. When working down the sides, two doubles around each post. In each corner, do double – chain – double. Once you have worked around once, dc and chain two in the corner, then slip stitch into the second chain of your starting chain.
Round two: Start in any corner and chain two. Then work crossed doubles all the way around, with double – chain – double in each corner. DC and chain two, then slip stitch into the second chain of the starting chain to finish. You may need to fudge the corners a bit to fit in the crossed doubles and straight corner double stitches – I just did what looked right!
Round three: Start in any corner. Chain two in the corner then double crochet in every stitch around. In the corners, double – chain – double. Then DC and chain two before slip stitching into the second chain of the starting chain to finish.
Colour Order:
Feel free to choose any colours you like, but these are the colours I used and the order that I put them in:
How exciting – to finally have our own website! We’d talked about having one for a while now but as it always seems, there’s always a more pressing thing to do and so it had slipped down the list, but, Rich has been working away in the background and got us all set up!
Having our website means that not only can we draw everything together in one place (Instagram/Facebook/Etsy), but also that I can tell you a bit more about what we get up to behind the scenes! We will list our items to sell on here as well as Etsy, and continue to use social media. As well as a bit of a view behind the scenes, I’m going to work backwards a bit too, and tell you about what we have been up to over the last few months.
So about us. I met Richard in 2013, and we quickly moved in together, later marrying and going on to have two sons (who keep us very busy!). Rich was employed as a draughtsman, a role which he had had since he got his first full time job. He used the skills gained over many years in this role and combined them with his hobby of playing Warhammer and other table-top games, to spend his evenings designing table-top gaming scenery. He’s very talented and selling these 3D printable files provided the funds to buy not only his laser cutter but the associated necessities too. It was at this point that I became more interested in what he was getting up to! I like to be busy, and after work and the children are in bed, I enjoy crocheting. My mum taught me how to crochet a circle when I was younger, and this is a hobby I picked up again whilst pregnant with my youngest – I didn’t have a great pregnancy and so whilst settee bound it was something that I could do to keep me occupied. I rapidly fell in love with it (and learnt to make more than a circle!). So, when I learnt about what laser cutters do, I knew exactly what I wanted!
In June 2021 Richard received his laser cutter, I described what I wanted, and Rich made them! We made a few items initially, but our best seller was our yarn tags. I absolutely love them and I think they will always remain my favourites. We expanded our range and thinking of new ideas (or having you lovely lot think of things for us) is one of our favourite parts. I still find it amazing now that if I can think of something, Rich can probably make it! We also went to Yarndale which we loved too. In October 2021, after much deliberation, Rich took the leap and left his full-time job. By this point we were both working day jobs, I’m also studying at uni too, both looking after the boys and then working late nights, early mornings and weekends at LauretteCraftsUK. We knew it was now or never, but that if he didn’t take the chance then it would be something that we would always regret. And, so far so good! We continue to both work hard, but it is much more manageable now. It also means that we are very responsive to messages, can dispatch items quickly, and gives time to design new items as well as things like setting up this website and attending markets.
Richard continues to own and run LauretteCraftsUK and do all the “proper” stuff for it. I love thinking of ideas and doing Instagram/Facebook, sharing not only our products but my crochet too. I also help to package when I can as I love putting an order together and imagining how the person will feel when they receive it. For Rich, he now does this full time, but continues his table-top gaming files and developing this side of things in the background. He too has developed an interest in crochet, and although not a skill he possesses, he understands how our accessories are useful to those of us that do.
So that’s it about us for now! I hope you will enjoy seeing a bit more behind the scenes about what we do, and if you have any questions, just ask 😊
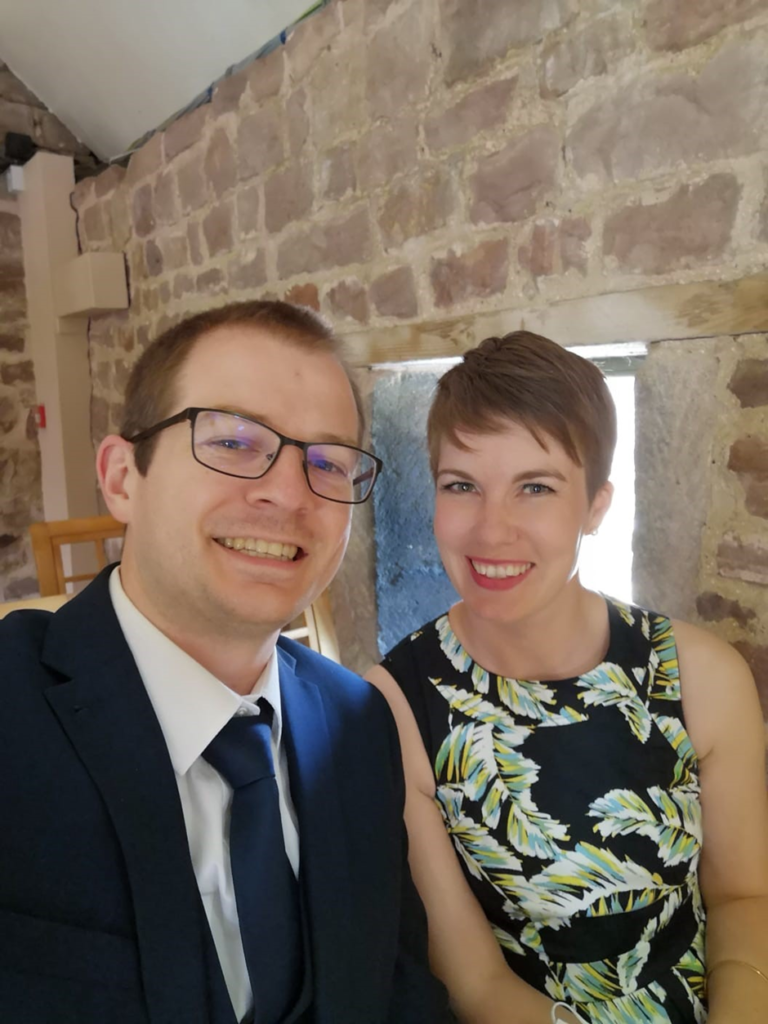
Richard and Lydia, the faces behind LauretteCraftsUK
We use cookies on our website to give you the most relevant experience by remembering your preferences and repeat visits. By clicking “Accept All”, you consent to the use of ALL the cookies. However, you may visit "Cookie Settings" to provide a controlled consent.
This website uses cookies to improve your experience while you navigate through the website. Out of these, the cookies that are categorized as necessary are stored on your browser as they are essential for the working of basic functionalities of the website. We also use third-party cookies that help us analyze and understand how you use this website. These cookies will be stored in your browser only with your consent. You also have the option to opt-out of these cookies. But opting out of some of these cookies may affect your browsing experience.
Necessary cookies are absolutely essential for the website to function properly. These cookies ensure basic functionalities and security features of the website, anonymously.
Cookie
Duration
Description
cookielawinfo-checkbox-analytics
11 months
This cookie is set by GDPR Cookie Consent plugin. The cookie is used to store the user consent for the cookies in the category "Analytics".
cookielawinfo-checkbox-functional
11 months
The cookie is set by GDPR cookie consent to record the user consent for the cookies in the category "Functional".
cookielawinfo-checkbox-necessary
11 months
This cookie is set by GDPR Cookie Consent plugin. The cookies is used to store the user consent for the cookies in the category "Necessary".
cookielawinfo-checkbox-others
11 months
This cookie is set by GDPR Cookie Consent plugin. The cookie is used to store the user consent for the cookies in the category "Other.
cookielawinfo-checkbox-performance
11 months
This cookie is set by GDPR Cookie Consent plugin. The cookie is used to store the user consent for the cookies in the category "Performance".
viewed_cookie_policy
11 months
The cookie is set by the GDPR Cookie Consent plugin and is used to store whether or not user has consented to the use of cookies. It does not store any personal data.
Functional cookies help to perform certain functionalities like sharing the content of the website on social media platforms, collect feedbacks, and other third-party features.
Performance cookies are used to understand and analyze the key performance indexes of the website which helps in delivering a better user experience for the visitors.
Analytical cookies are used to understand how visitors interact with the website. These cookies help provide information on metrics the number of visitors, bounce rate, traffic source, etc.
Advertisement cookies are used to provide visitors with relevant ads and marketing campaigns. These cookies track visitors across websites and collect information to provide customized ads.